Cedar and Aluminum Raised Garden Bed
Raised garden bed construction

In March, we decided to build a raised garden bed in the center of the back patio, to give us a reason to take out the nasty, ancient rose bush that was there when we bought the house. That rose bush took a sawzall to remove - the ‘trunk’ was nearly 2” thick - more of a rose tree!
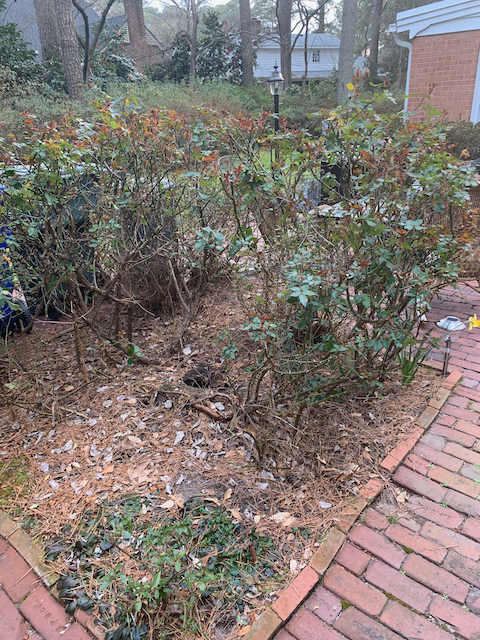
It turns out the rose bush had been planted on an old tree stump that had been cut down just below the ground, but never dug up and removed - probably a small dogwood. The stump had mostly rotted out in the past decades, but it made digging exhausting and dangerous. The rotted sections of the stump had given way to giant hidden sinkholes beneath - I fell in up to my waist!
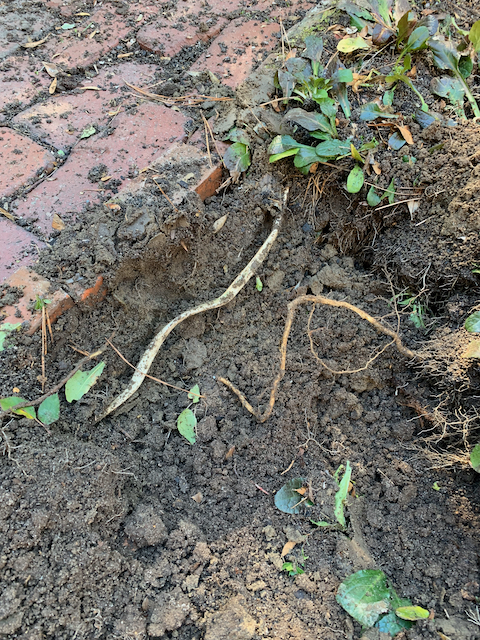
Another exciting discovery during digging was that the electrical wires to backyard pole lamp was no in conduit, and, was barely buried under the brick. I was about half an inch from severing this live mains wire. It's now buried much further down!
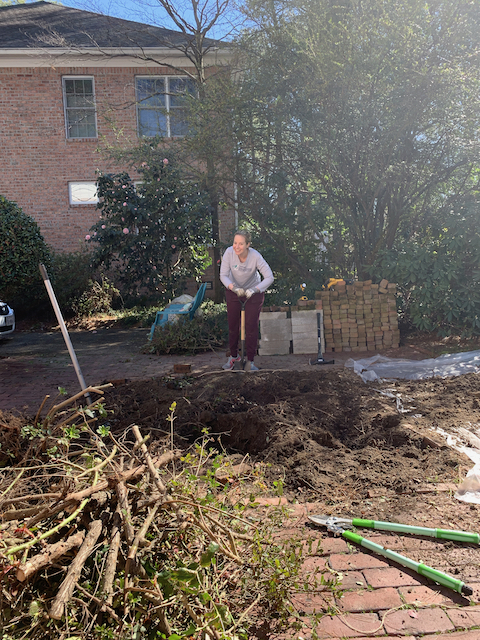
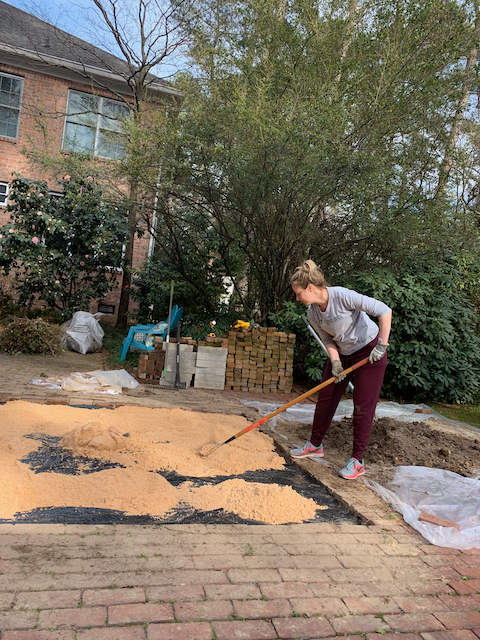
Once the hole in the ground was sufficiently emptied of dead tree, azalea and rose, we filled it with sand and some extra dirt, and then leveled it.
With the hole leveled out, we laid down sand, pebbles and landscaping paper, to provide for direct drainage support and keep crap from growing up into our beds from the ground underneath.
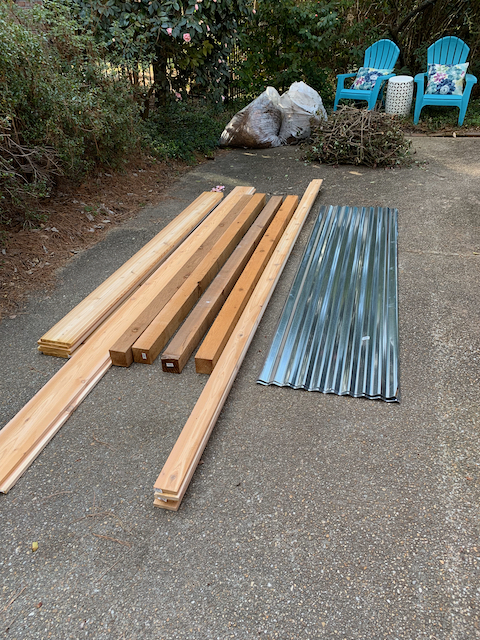
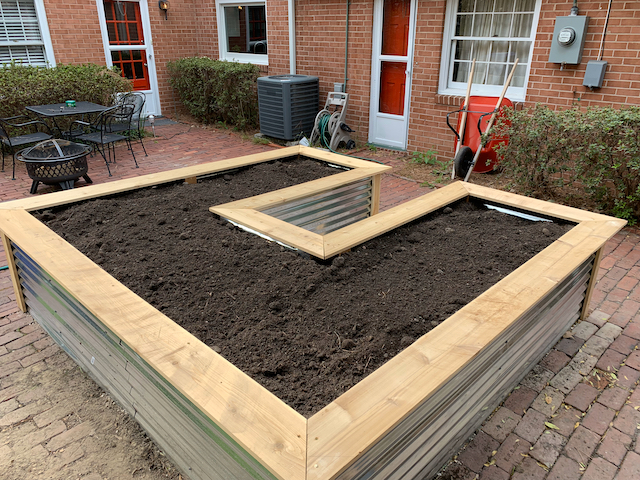
Once the surface prep work was finished, it was time to buy the wood and metal. We took some inspiration from the internet (a few hours googling ‘raised garden beds’) before settling on the general look we wanted - corrugated aluminum siding with wood ‘molding’. I spent a few minutes drawing up plans - we wanted something ‘unique’, rather than just a regular rectangular bed. Once the plans were finalized, I calculated board-feet and equipment requirements - cedar 4x4, 1x3 and 1x6 boards, and corrugated aluminum sheets. I was afraid the aluminum sheets would be hard to work with, but it turns out my aviation sheers cut it like paper! One relatively quick trip to Lowes (Home Depot didnt have the 4x4s!), and we were off the races.
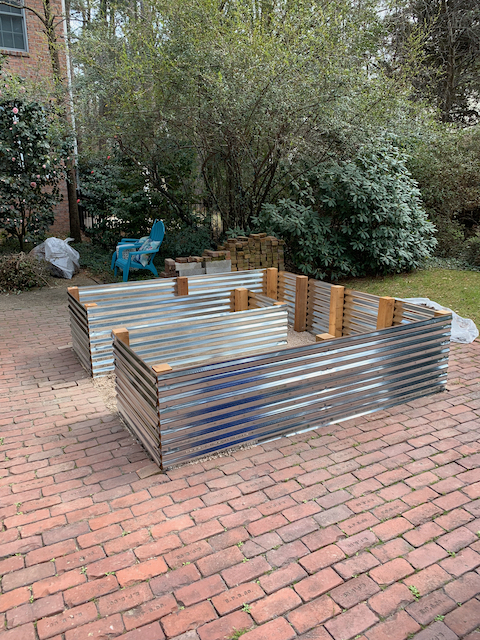
Getting the base structure screwed together and in place gave a good sense of size, which is something Mary and I both struggle with when designing and measuring stuff in 3 dimensions still. If I did this again, I probably would used something to secure the bottoms of the 4x4's together to stiffen things.
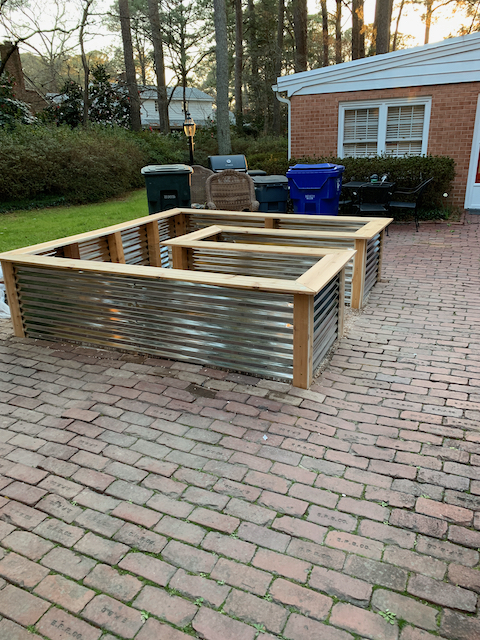
Once we were sure we liked the size, shape and position, the decorative/safety top and corner boards were screwed into place. This is definitely an area I messed up on - I should have used 2x6, not 1x6 - cedar is super fragile and snaps easily, so you can't sit on the edge. Also, the 1x3 corner molding should have been pre-drilled for screwing: a few of the pieces split right in half while screwing them to the posts.
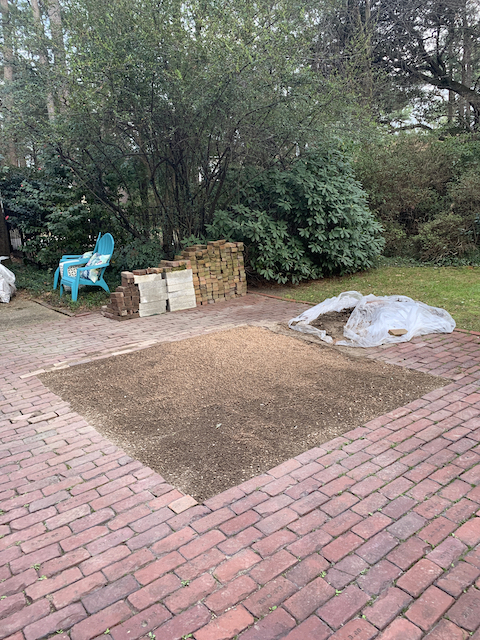
A few weeks later, the dirt dump truck showed up, with 3.5 cubic yards of dirt. Which is a freaking ton of dirt.
Protip: Lazy dump trucks dump in a row, they don't just tip once and dump a single pile. Spread way more tarp/plastic down than you think you need!
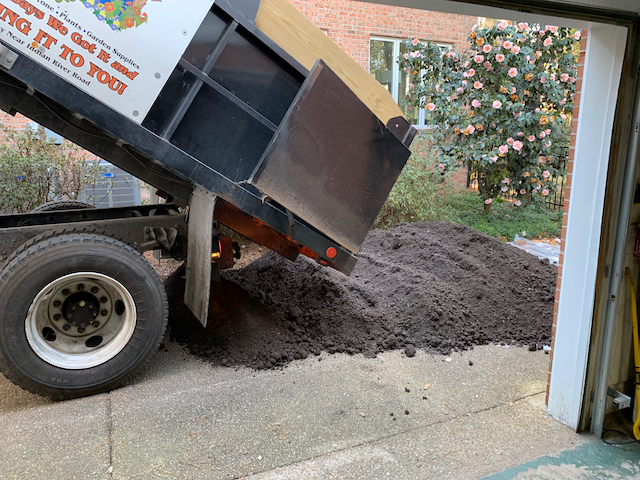
I have left this picture here just to remind myself to never do this again.
It sure turned out pretty though!
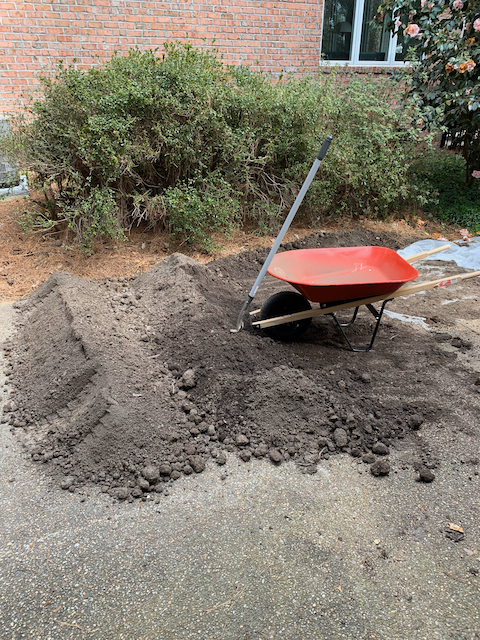
Shoveling all that dirt by myself took…a lot.